Contact Us
Changsha Hone Arts Co.,Ltd
TEL: +86-731-84886102
WhatApp:13975166561
E-mail: marketing5@hnarts.com
Address :RM 8033 FL 8 Tower B Wan Fu Hui Mansion 9 Shuang Yong RD PC 410003 Changsha China


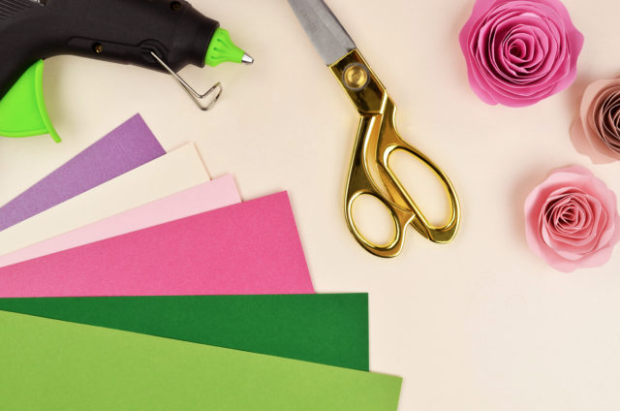
Here’s what you’ll need:
1.Cover Weight Cardstock (in varying colors for the flowers)
2.Text Weight Paper (in shades of green for stems)
3.Hot Glue Gun
4.Glue Sticks
5.Scissors
6.Paper Trimmer
Detailed steps for making these flowers are written out for you below, but the easiest way to learn is by watching this video tutorial:
Step 1:
Cut your cardstock into a square using your paper trimmer – the size of the square depends on the size of the flower you’d like. We cut our 8.5 x 11″ cardstock down to a 6 x 6″ square in this tutorial. Experiment and make a variety of sizes!
Step 2:
Next, use scissors to cut your square into a circle by trimming close to the sides and rounding off the corners. (This does not have to be a perfect circle!)
Step 3:
Start at any point of the circle’s outer edge, and cut it into a spiral shape (the cut should be about 1″ in width). When you get to the center, leave the end as a small circle in the middle, which will be a base for your flower.
Step 4:
Once you’ve cut your spiral, go back and cut a wave pattern on just the outer edge (this can be uneven for more interest).
Step 5:
Take the outer end and start tightly rolling until you get to the round center. Try to keep the straight edge of your spiral lined up as you roll.
Step 6:
Now that your flower is tightly rolled up, place it on the table and let it go, so that it will unravel slightly to reveal a beautiful spiral flower.
Step 7:
Carefully apply hot glue to the bottom of your spiral flower and securely press it against the round end of your spiral that was left as your flower’s base. Hold it in place until the glue has dried so that it doesn’t unravel further.
At this point, you can leave your flower as is, or move on to make a paper stem.
Step 8:
To make the stem, trim your text weight paper to 2 x 10″.
Step 9:
Start in one corner, and carefully roll diagonally until you’ve rolled it up completely. If it seems a little short, you can try lengthening it by gently pulling the ends. Try to keep it as tight as possible.
Step 10:
Seal the end of your stem in place with hot glue.
Step 11:
Then use your scissors to carefully poke a hole in the bottom center of your flower, and slide the stem in. This should stay in place on its own, but you can also add hot glue to keep it secure.
Tips:
You can decorate your paper flower a little bit more by:
Adding glitter to your paper before cutting it
Modpodging glitter to certain petals of your flower for a little extra sparkle
Coloring the edges of the petals
Adding simple paper leaves to your flower


.jpg)

.jpg)
.jpg)
.jpg)