Contact Us
Changsha Hone Arts Co.,Ltd
TEL: +86-731-84886102
WhatApp:13975166561
E-mail: marketing5@hnarts.com
Address :RM 8033 FL 8 Tower B Wan Fu Hui Mansion 9 Shuang Yong RD PC 410003 Changsha China


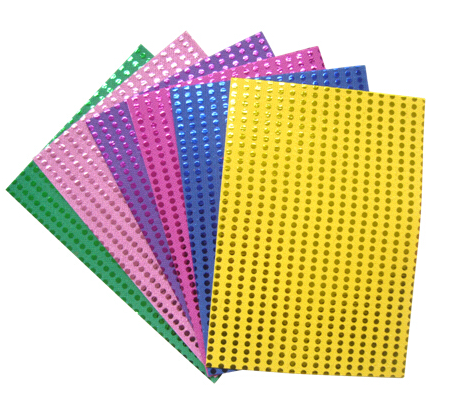
Air drying clay is a popular and relatively inexpensive choice for art projects big and small. It can be a great way for a budding artist or craftsperson to practice their skills, and even experienced artists often enjoy the simplicity of air drying clay. Air drying clay can be used for jewelry, ornaments, and different craft projects. Best of all, air drying clay doesn't require an oven or kiln to create a beautiful, unique product. Usually air dry clay will be dry to touch after 24 hours. The thicker the clay is, the longer it will take to fully dry. It can take as long as 72 hours.
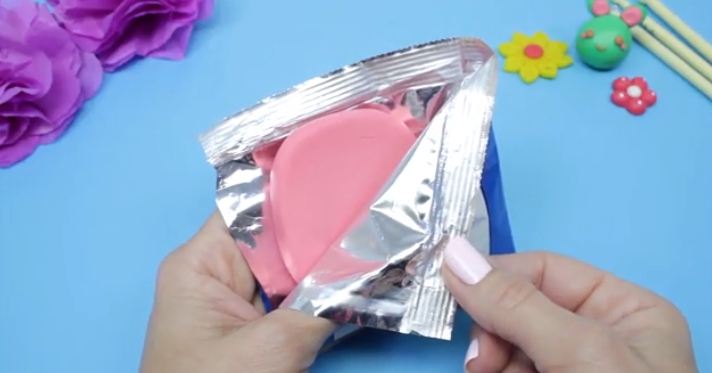
Open your clay. Begin working over a smooth, clean, nonporous surface. Open your sealed bag of clay and pinch off the amount of clay that you want to use. If your project is larger and you need several bags of clay, only open one for now.
· You can use a wire or floss to "cut" chunks of clay off of a block. This is useful for accurately measuring how much you are using.
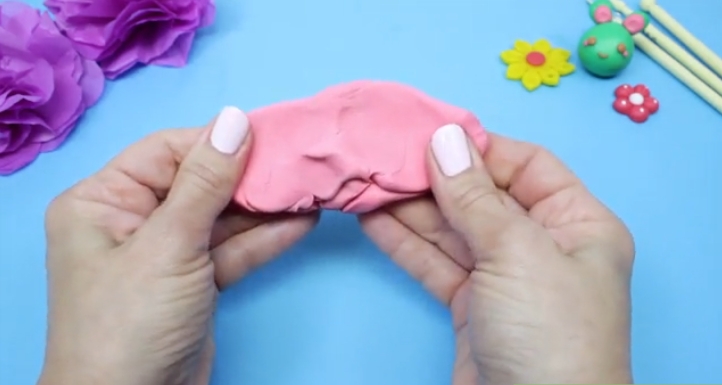
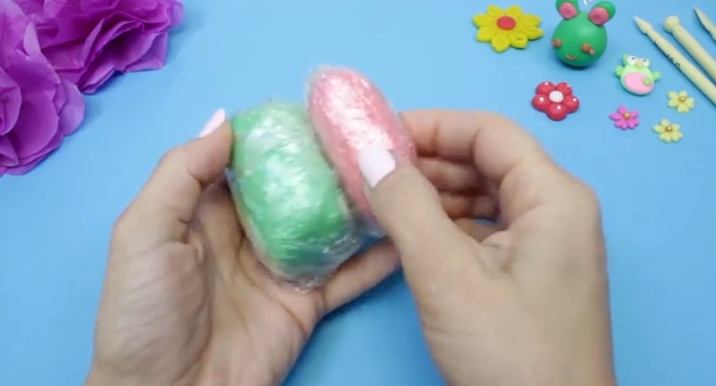
Knead your clay until it is soft. Kneading and massaging the clay will soften it and make it easier to work with. The warmth of your hands will spread to the clay and make it malleable. Conditioning the clay is essential for proper use. If you planned to work with multiple bags of clay, knead them one at a time.
· If using multiple bags for one piece, knead the clay together after each bag of clay has been warmed and kneaded separately.
· If using paper based clay, you can add a small amount of water to additionally soften the clay. [1]
· Resin based clay can be softened (and colored!) with acrylic paint. [2]
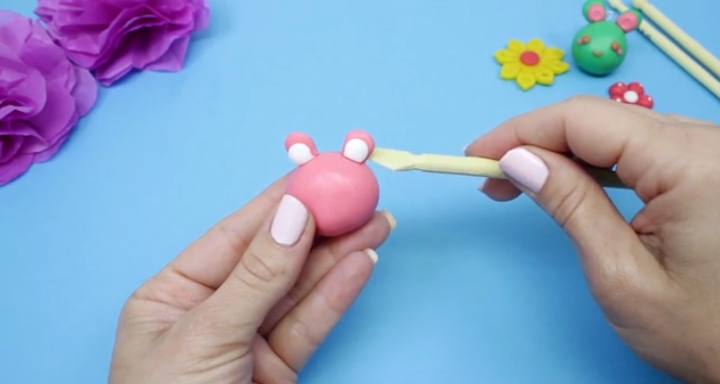
Shape your clay. Both three dimensional and flat figures are easy to make with air drying clay. Use your hands and tools like knives, spoons, or even spinning wheels to form and shape the clay as you desire.
· Crafting tools (or even dental picks and equipment!) can be very useful for creating more complex projects, as you can be much more exact with them.[3]
· If you are making a larger project that needs to stand up such as a vase, make sure that it has a large, flat base.
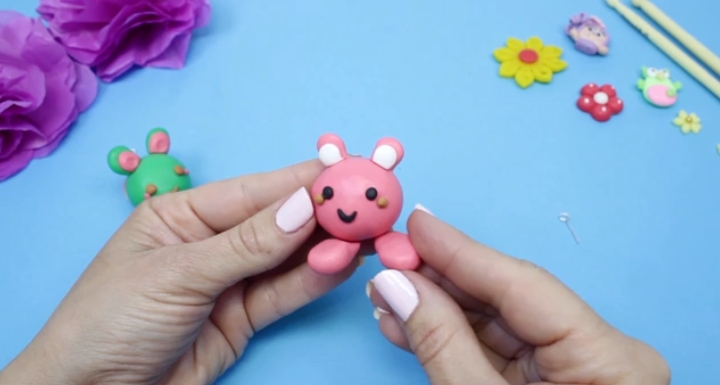
Decorate your clay. You can press beads, yard, or even other pieces of clay into your project. Be sure to be careful, as you'll need to use enough pressure to press your decoration into the clay without changing or squashing your project. [4]
Store your excess clay. Since clay spoils easily once it has been opened, ideally you'll have used it all. If not, leftover clay can be tightly wrapped in wax paper and stored in a plastic bag. It won't be as simple to work with or as useful afterwards though.[5]
· Tough excess clay can sometimes be saved by (carefully) using a microwave to warm the clay up.


.jpg)

.jpg)
.jpg)
.jpg)