Simple Paper Chick Craft
What you need:
orange construction paper
scissors or paper trimmer
glue
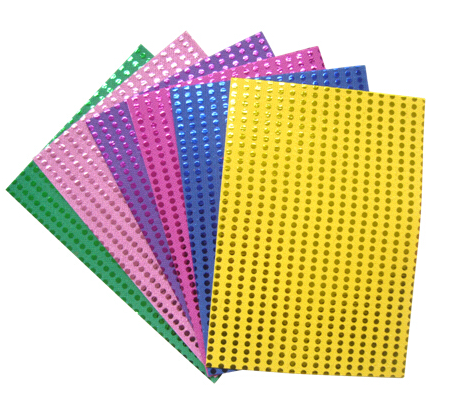
wiggle eyes stickers
We have prepared both video tutorial and photographed steps for making this little project,
as we know some things are easier to follow by watching videos, while others are by following written instructions.
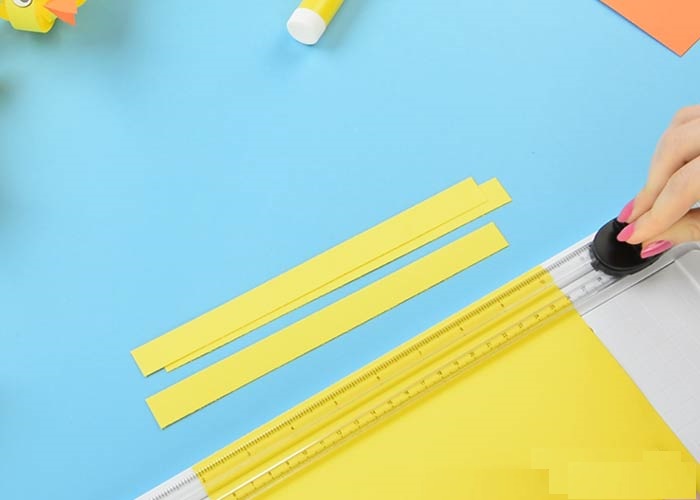
Start by cutting strips of yellow construction paper. We have cut ours across the width of a A4/letter sized paper. The strips were as wide as a finger.
You will need 4 strips of paper for each little chick.
Gently fold the strips in half – do not crease.
This will make it easier to locate the middle.
Stick glue works out great with paper projects. White school glue will work good too but will need a little bit more time for it to set.
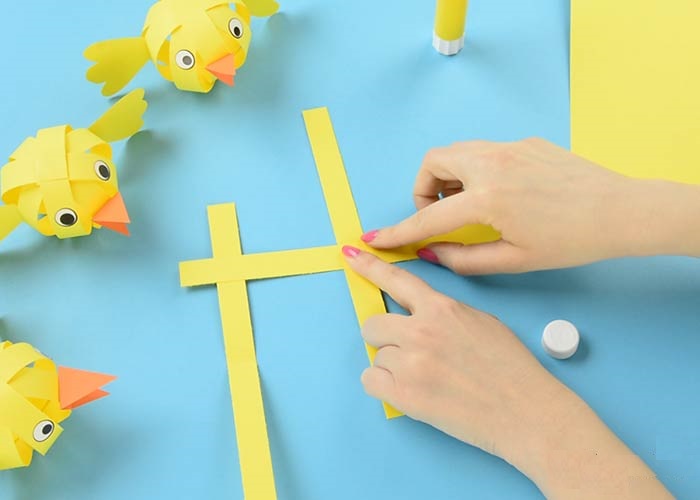
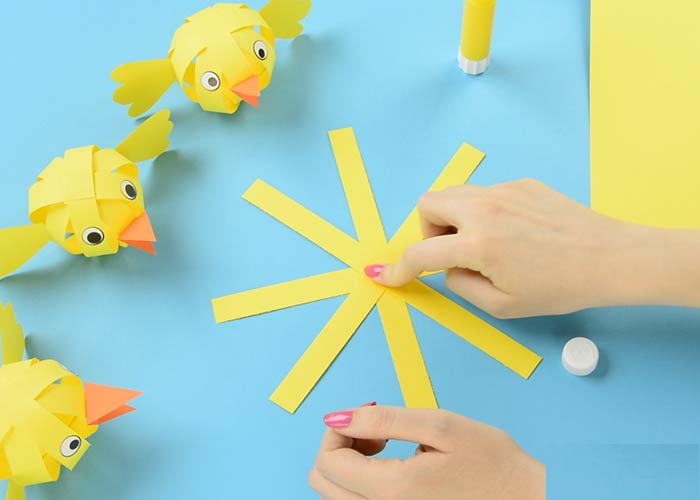
Glue another paper strip on the first one, making a cross.
Press down with finger for the glue to set.
Glue on two more strips of yellow construction paper.
You should see a snowflake like shape now.
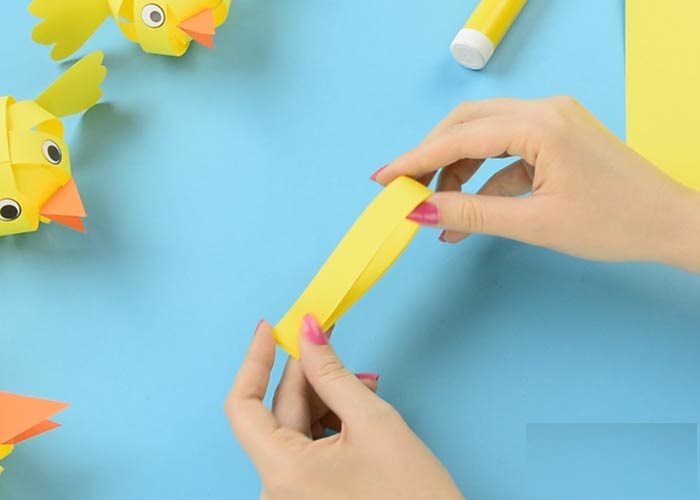
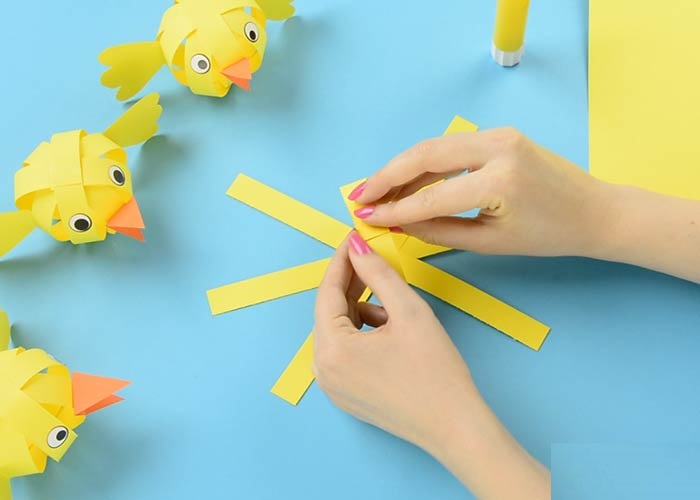
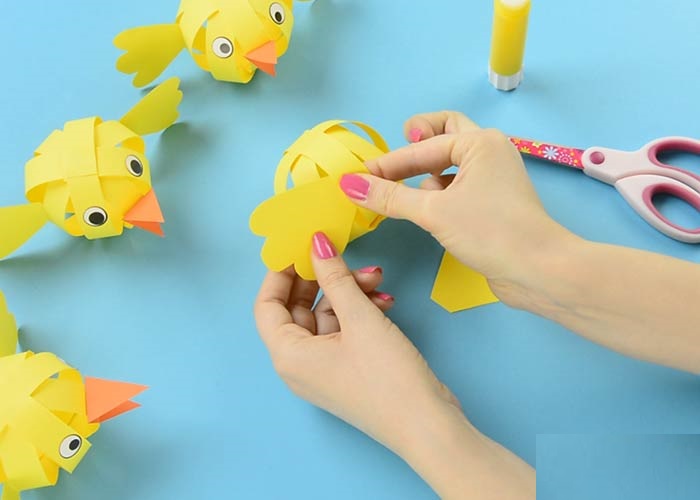
Time to make the chick ball :).
Apply glue on one strip of paper (one end) and take the other end and glue them together, making a circle.
Repeat with all other strips of construction paper.
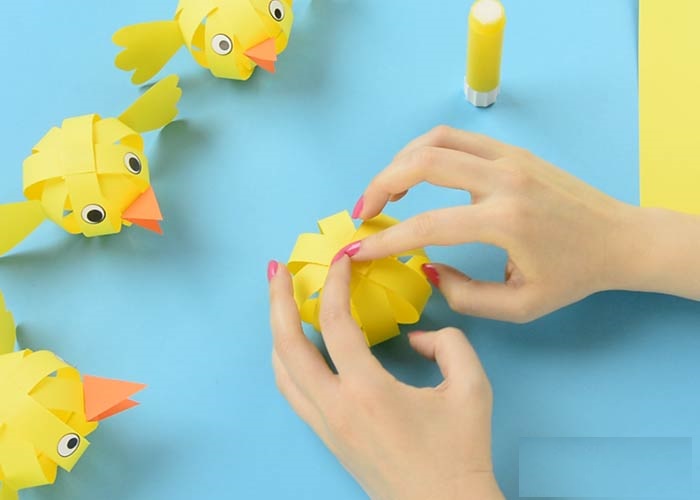
Once all strips are glued together a ball shape should form.
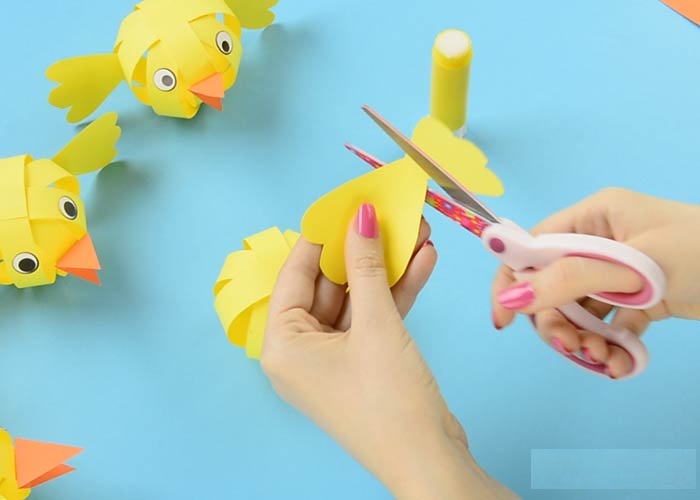
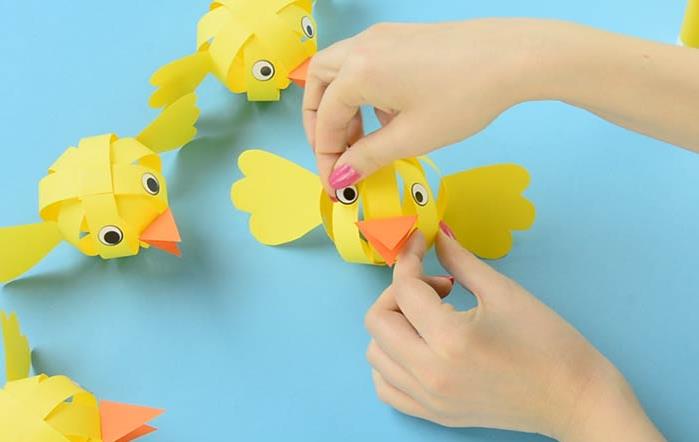
Cut two wings out of construction paper.
Glue the wings onto the ball. We glued them onto both sides of the same paper strip.
Fold a bit so the wings are nicely seen if you look the chick from the front.
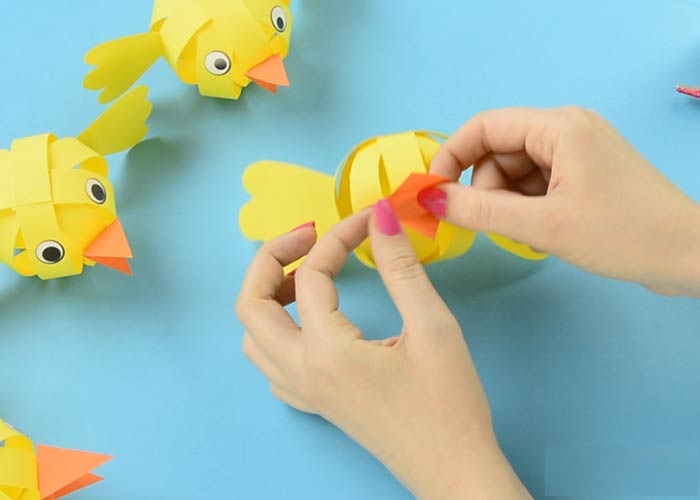
Cut a beak shape out of orange construction paper.
Glue the beak on the paper ball.
Last but not least add two wiggle eye stickers or draw your own eyes with a marker.


.jpg)

.jpg)
.jpg)
.jpg)