Teach your kids while making this scarecrow craft,DIY paper craft
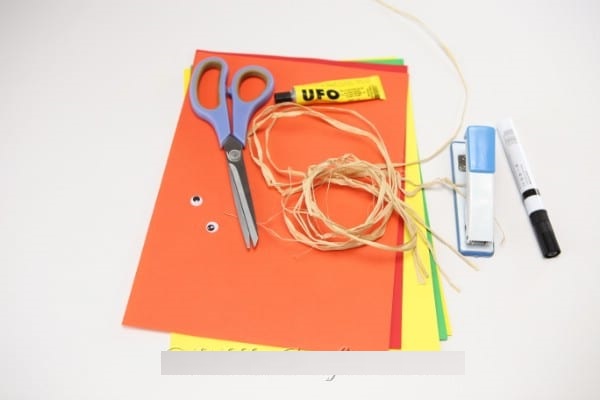
Materials
Colored or construction paper
Twine or Hay
Googly eyes
Button(s)
Tools
Stapler
Craft Glue
Permanent marker
Scissors
Instructions
1,Begin by cutting your core piece of paper to a size you desire. Mine was cut to a 10cm width;
Cutting yellow paper to create core of scarecrow craft body

2,Next, you will staple the two ends together forming a cylinder;
Attaching the ends of paper for core of scarecrow craft
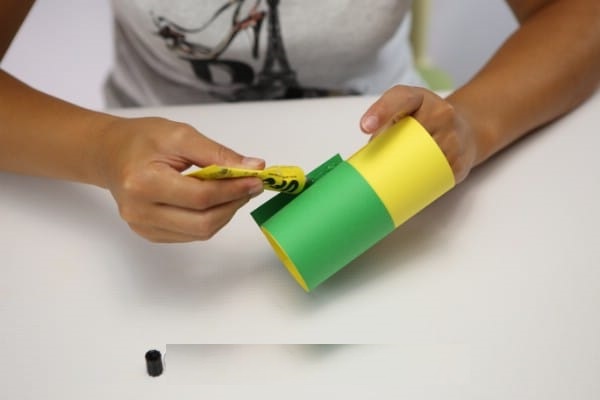
3.Once that is secure, you will measure a different color of paper a bit shorter but the same length as the first paper. This will be wrapped around your first core piece to create the body of the scarecrow;
Adding the second color of paper to the scarecrow craft
4,Once you have that piece cut, you will staple or glue it into place Next you will add the twine or hay pieces around the top of the first piece to create hair. Secure this with glue or staples;
Attaching hair to core of scarecrow craft
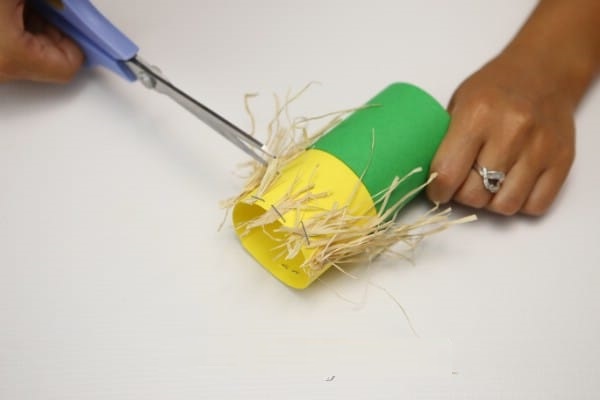
5,Next, you will trim the pieces to the length you prefer for your scarecrows hair;
Trimming hay for scarecrow hair

6,Attach googly eyes to the front of the scarecrow to begin creating a face;
7,Adding googly eyes to the front of your scarecrow craft
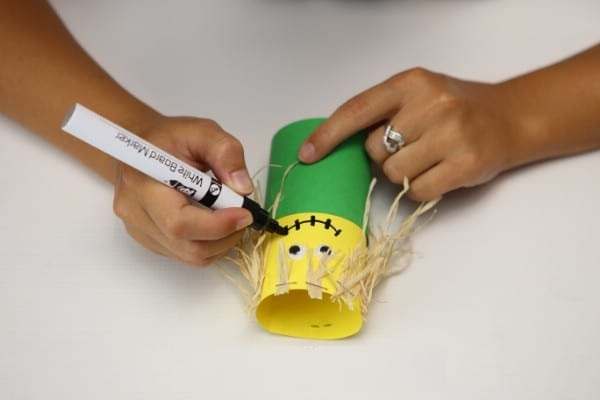
You will add a paper triangle nose and use a permanent marker to create the face;
Drawing a face on the paper scarecrow craft with a permanent marker

8,Use an alternate piece of paper, fold it in half, then fold two corners into the middle creating a triangle;
Folding paper to create a hat for scarecrow craft
Next, fold the left side on the bottom upwards. Open the hat by putting your hand inside and pushing the paper apart;
The folded paper hat for your scarecrow craft
9,Last, you will add any embellishments to the hat. Extra paper can be turned into a flower and added with a button and glue;
Adding a flower to the hat for the scarecrow craft
Secure the hat to your scarecrow with glue or staples and display;


