
Specifications
General size: 1cm, 1.5cm, 2cm, 2.5cm, 3cm, 5cm.
Package: Single-size package: 20pcs/ 30pcs/50pcs/100pcs/200pcs per opp
bag with a color header, customized package.
MOQ: 3000 bags/ size
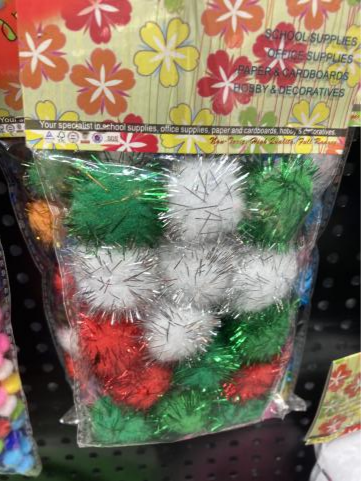

Here is the process of making a Christmas tree with pompom balls:
1. Hot-melt gun with glue sticks
2. A4 cardboard (brown or red, slightly thicker)
3. Scissors
4. Transparent tape
5. Pompoms (I used 3cm and 1.5cm)
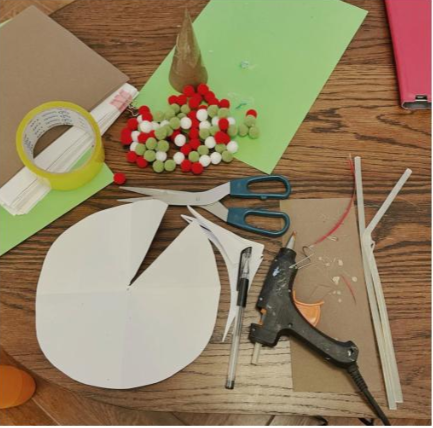
1. Making a cone small Christmas tree
The cone of the small Christmas tree: about 15cm high
First, cut the A4 paper into a square, find the center point, draw the center point and one of the diagonals, and cut it off. Then fold it in half twice and cut out a rough arc. It doesn't need to be too standard, after all, the base will not be visible with the pompoms attached. After rolling out a suitable cone, fix it with transparent tape, and you will get a small Christmas tree. Roll it thinner, otherwise it will be too fat and the proportions will not look good.
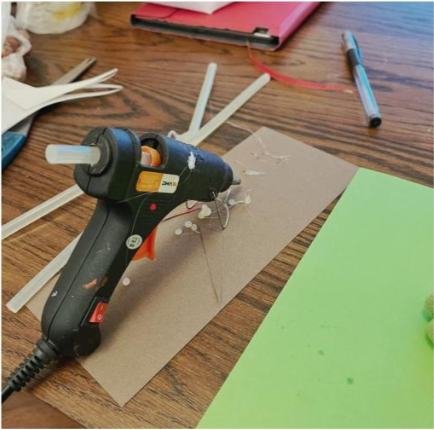
2. Making a large Christmas tree: about 38cm high
This step is a little more complicated.
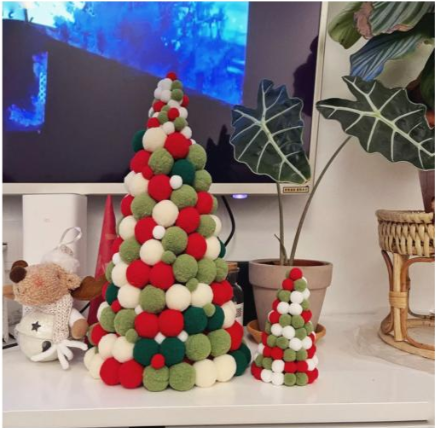
First, roll the A4 paper into an irregular cone, cut off the two corners that grow out, and try to balance it. Because this size is randomly rolled out by hand, you can overlap several cones that gradually become smaller according to the actual situation to achieve the height you need.
3. Attach pompom balls
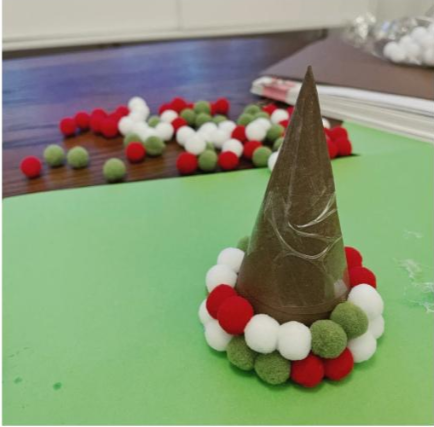
Begin with the largest green pompom balls. Apply glue to the paper cone and start attaching the pompom balls around it in a circular pattern. Make sure to press them gently but firmly so that they stick well to the paper and to each other. Keep adding pompom balls in this layer until you form a complete circle around the trunk.
4. Add Decorations (Optional)
If you want to make your pompom ball Christmas tree more festive, you can add some small bells by gluing them randomly on the tree, tie some colorful ribbons around the layers, or attach some glitter stars at the top or scattered throughout the tree.
I wish you all success at once and happy holidays!