Contact Us
Changsha Hone Arts Co.,Ltd
TEL: +86-731-84886102
WhatApp:13975166561
E-mail: marketing5@hnarts.com
Address :RM 8033 FL 8 Tower B Wan Fu Hui Mansion 9 Shuang Yong RD PC 410003 Changsha China


Materials Needed
- Air-dry clay or polymer clay in light blue, dark blue, pink, white, black, and red
- A flat work surface
- A small tool for shaping (optional)
---
Step-by-Step Instructions
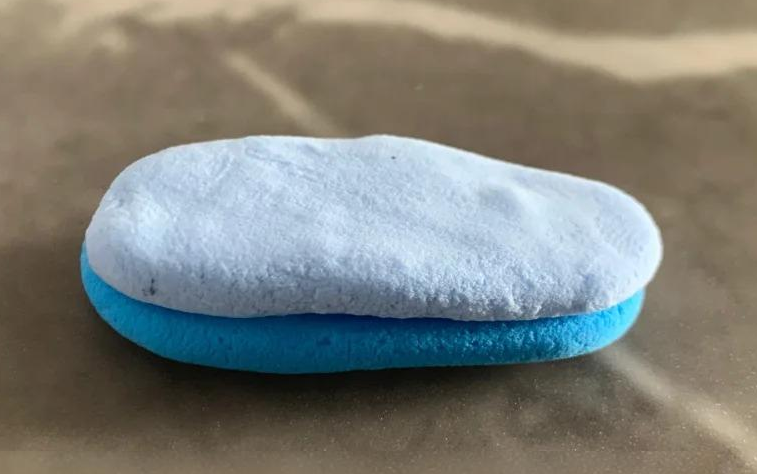
1. Make the Base
Roll two long strips of clay: one dark blue and one light blue. Flatten them and stack the light blue one on top of the dark blue one to form the snail's foot.

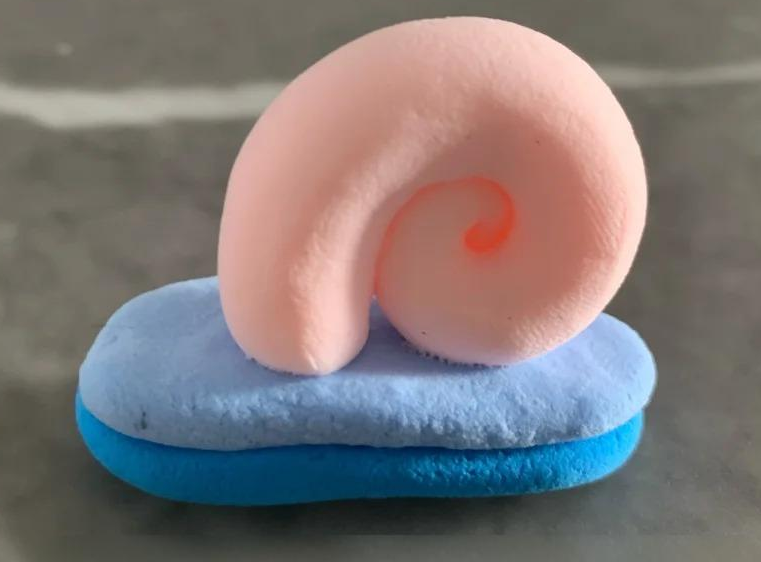
2. Create the Shell
Roll a long, teardrop-shaped piece of pink clay. Starting from the narrow end, tightly roll it into a spiral to form the shell. Attach this shell to the top of the blue base.
3. Add the Eyes and Details
- Roll two small white balls for the eyes and press them flat slightly.
- Add tiny black pupils to the center of each white eye.
- Roll two thin light blue strips for the eye stalks and attach the eyes to the top.
- Attach the eye stalks to the front of the base, just below the shell.
- Roll small red dots and press them onto the pink shell to create the signature spots.
4. Final Touches
Let the clay dry completely according to the manufacturer's instructions. Once dry, your Gary the Snail is ready!


.jpg)

.jpg)
.jpg)
.jpg)