How to Make Handmade Paper Flowers
Materials needed:
Craft glue
Scissors
Pen
1,Using a round bowl or cookie cutter, trace circles onto your pink
craft paper. You will need 10-12 circles about 3″ across for this project.
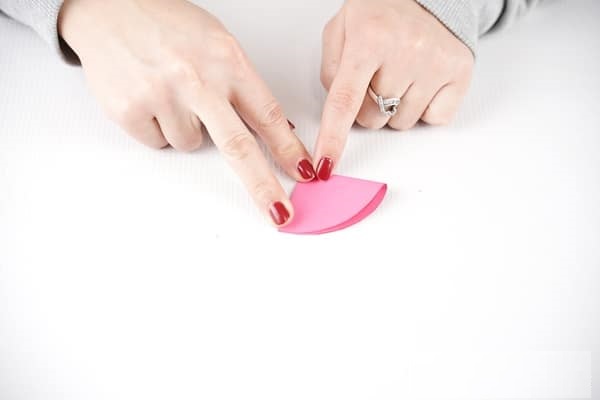
Cut out the circles and set them aside.Now, you will take a paper circle, and fold it in half.
2,Fold it in half again.Then fold in half one more time.Now, use your pen to trace a pattern around the rounded edge. I added little “v” shapes.
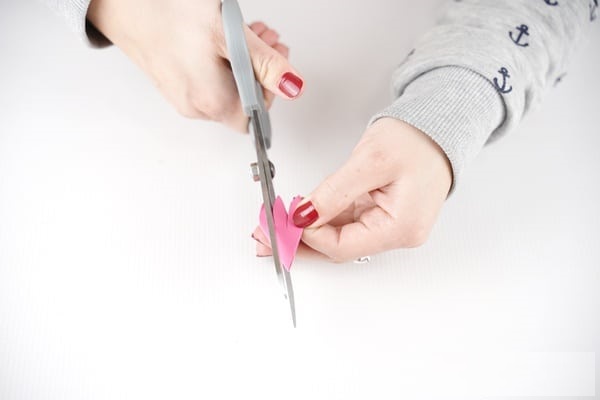
3,Cut along the pattern removing bits of paper around the edges to create a flower slightly pointed edge pattern all around the circle.
Repeat this process on all of the circles.
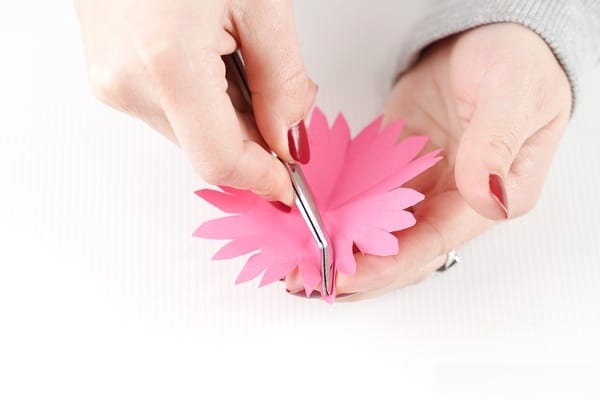
4,Now, take one circle, and unfold it. You will then use a pencil, tweezer, or knife to “crimp” around the edge going back and forth with the folds so that it has a rippled effect.
Lay this piece onto your work surface, then begin gluing the other folded pieces onto it.
5,Unfold each paper piece and glue into the center of the one before it as shown.
Add one final folded piece to the very center, and fluff the pieces as desired.
Glue on a gift, attach to a wreath, or simply share as part of a centerpiece.


