Fall Turkey Leaf Crafts
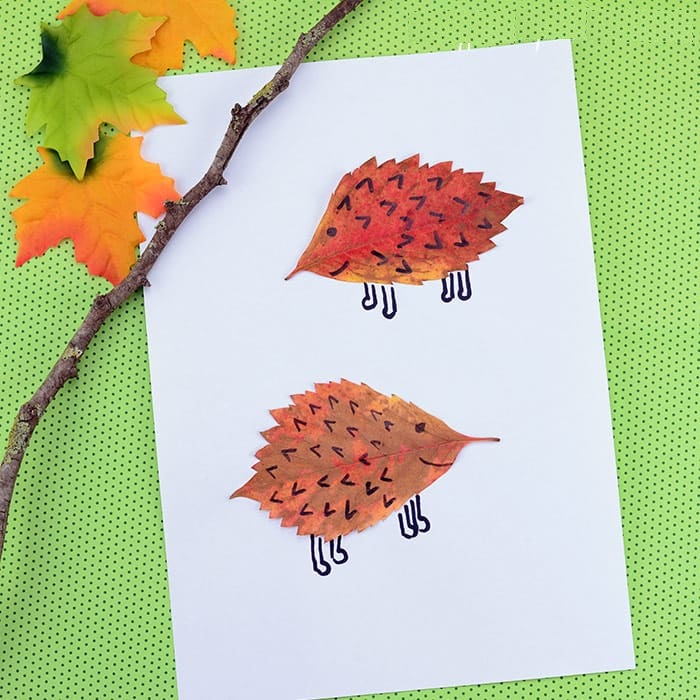
We love getting creative with leaves! There are many art and craft ideas you can make with dried leaves. You can use them as stencils, draw details to make them into hedgehogs (or other cool creations) or paint them to completely transform them (amongst many other great crafting ideas).
Leaf art is great for toddlers, great for preschool fall crafts table, kindergarteners and older kids – you can easily find a project for every age group.
Print out our template (you can find it at the end of this tutorial) and let’s get crafting!
Materials need:
our printable template (you can grab it at the end of this tutorial)
leaves, lots of colorful real leaves
paper (heavier paper is best, regular paper will be OK too)
coloring supplies
scissors
glue

When it comes to decorating,
glitter glue is always welcome!
Step 1:Print out our template.
Step 2;Color in the turkey. We used markers to color it in but any coloring medium will be fun to use – crayons, chalks, coloring pencils…
Step 3:Once colored, cut out the turkey and it’s feet.
Step 4:Take the other sheet of paper, with the turkey craft base and apply a generous amount of glue on the tail area.
Step 5:Alternatively you can also apply glue on the leaves only.
You can cut of stipules of the leaves, or just leave them as they are.
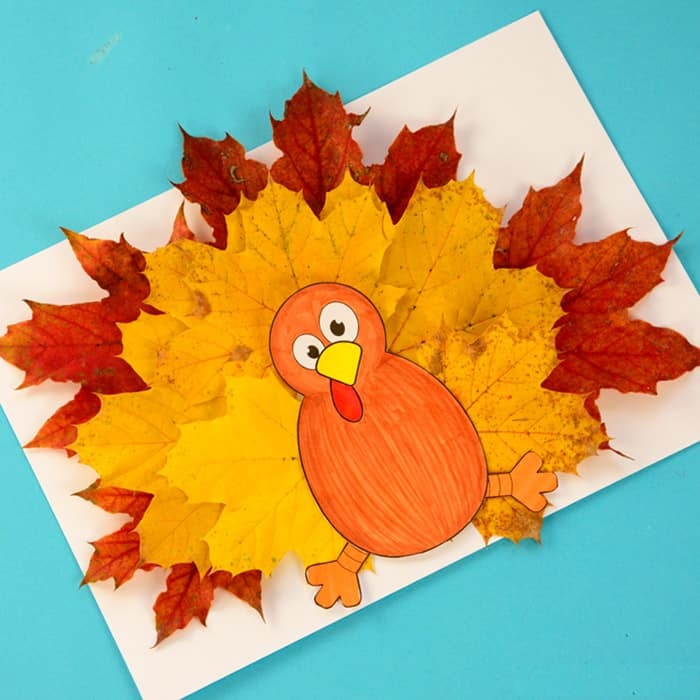
Step 6:Stick the leaves on the turkey template.

If you want a multi-colored turkey tail, we recommend you make the base with larger red leaves, and place smaller yellow leaves on top of them.
Step 7;Continue sticking leaves on the template, adding glue either on the leaves or on the base as you go.
Step 8;Once happy with how the turkey tail is starting to look, glue on two turkey feet on the base
Take the colored turkey body, apply a generous amount of glue on the back.
Step 9;Press the turkey body to the base.Give the glue some time to dry.

