Styrofoam Snowman Craft
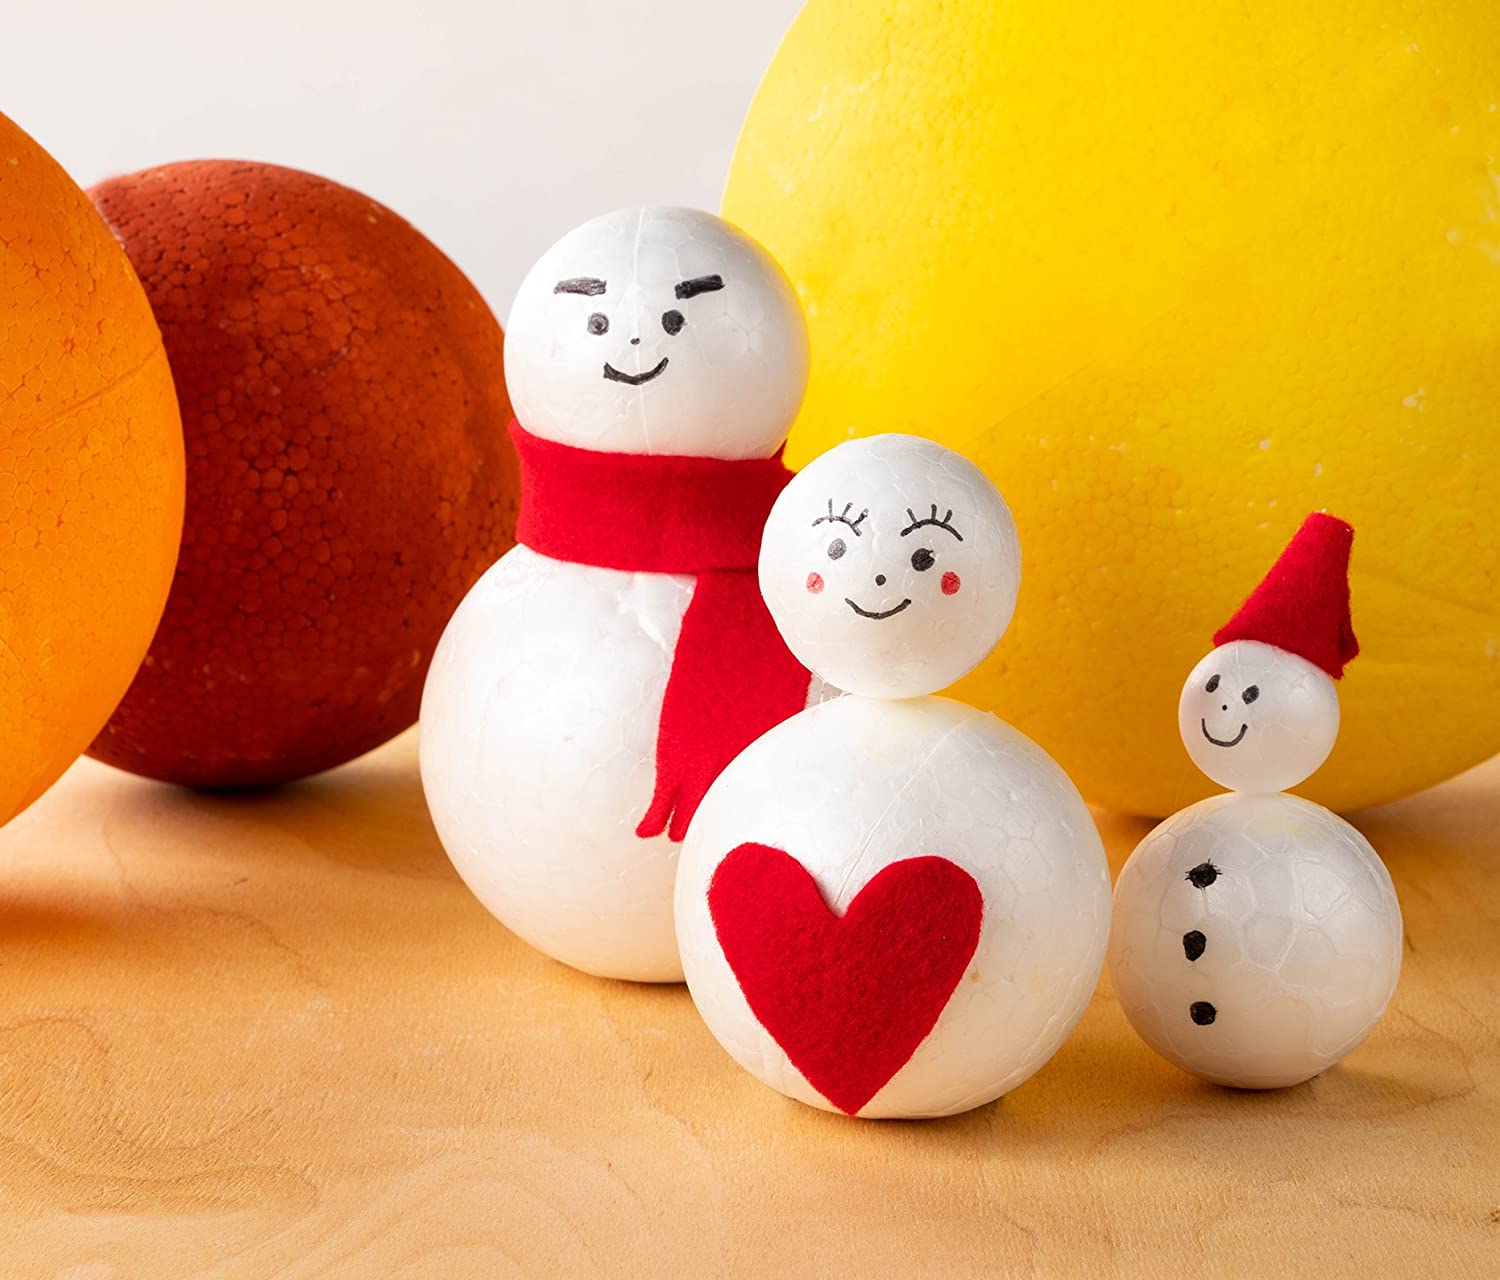
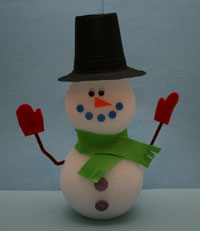
Another great Christmas craft made with styrofoam balls! Our styrofoam snowman craft is a cute craft that your children can be creative with. Our craft is a "basic" snowman, but let your children be creative with the snowman (or snowwoman's) accessories. Add a purse, a crown instead of a hat, a baseball bat, or cowboy hat to your snowperson to personalize it to your children's likes. It's a great Christmas craft to do as a family - let each person make their own snowperson and display as Christmas decorations! Enjoy!
What you'll need:
Plastic or styrofoam cup
5 small buttons
2 large buttons
Red and green felt
Glue
Scissors
Wooden dowel or popsicle stick
Black paint
Serrated knife
Tape
How to make your Styrofoam Snowman Craft
1. Paint the cup black and set it aside to dry.
2. Use a serrated knife to cut a small section off of one of the balls. This is now the bottom ball.
3. Use half of a wooden dowel. Insert one end into the bottom ball and the other end into the top ball to stack them on top of each other.
4. Cut out a long strip of green felt and wrap it around the junction of the two styrofoam balls as a scarf. Cut slits into the ends of the strip to make it look more like a scarf. Glue into place.

5. Cut a
pipe cleaner in half and insert each half on either side of the bottom ball.
6. Cut gloves out of the red felt and tape onto the ends of the pipe cleaners.
7. Glue the two large buttons onto the bottom ball.
9. Cut a triangle out of orange construction paper and glue under the eyes.
10. Glue the 5 small buttons under the nose in a smile shape.
11. Cut a circle out of black
construction paper. Cut a small piece out of the center of the black circle. This piece should be slightly smaller than the opening of the cup. Use tape to adhere the painted cup to the construction paper circle by taping through the opening in the circle up to the cup.
12. Glue the "hat" to the top of the snowman.


