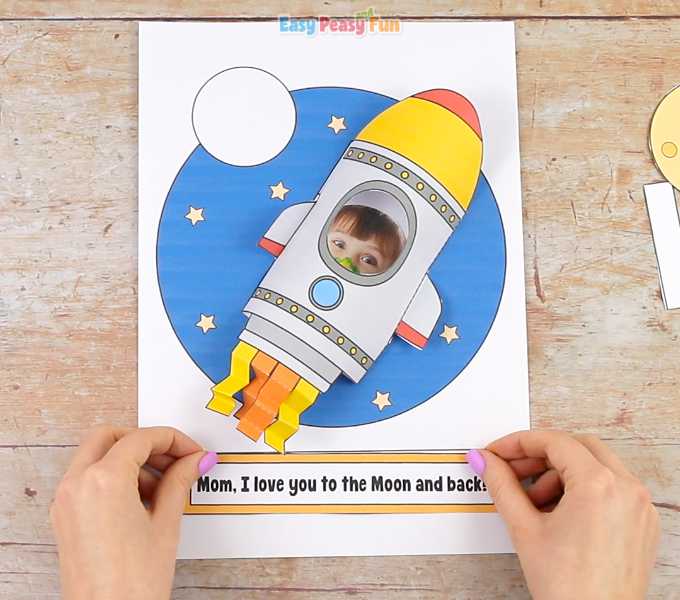
Rocket Mothers Day Craft
This cute project will look amazing displayed on the fridge! It’s a 3D paper craft
so it will be nice to look at from all the different angles.
How to Make Rocket Mothers Day Craft
What you need:
our space ship craft template
scissors
glue
photo or drawing supplies
coloring supplies if printing the black and white template.
Step by Step Tutorial
STEP 1:If you printed the black and white template, have the kids color in the background (it can be printed on blue paper too!),
space ship parts and moon.
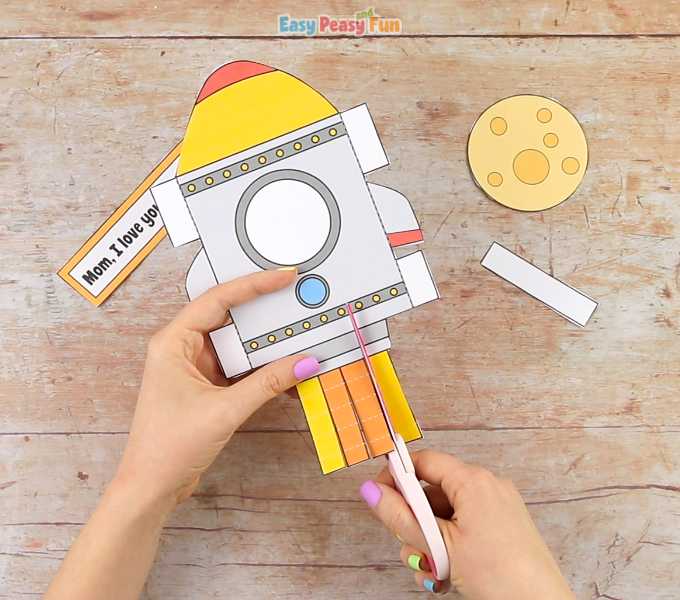
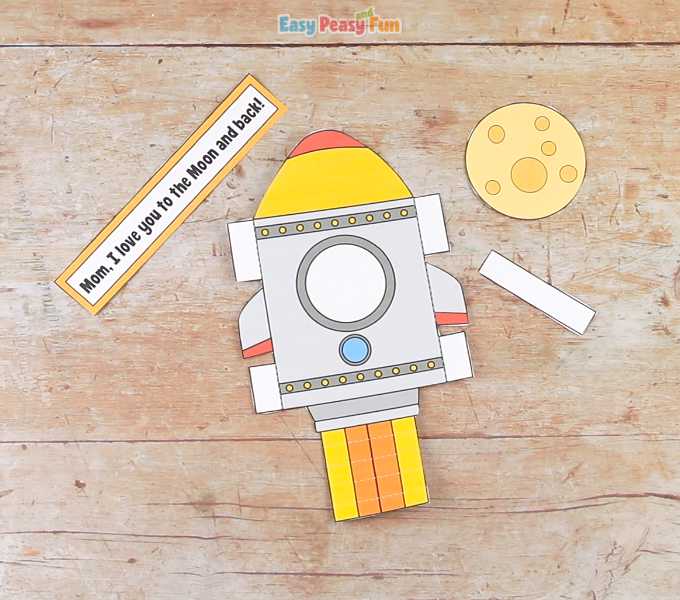
Cut out the space ship, the moon, the rectangle strip of paper and optionally the rectangle with the Mom,
I love you to the Moon and back! text.
STEP 2Kids can also write their own text in the box on the background.
STEP 3:The rocket will need a bit more cutting, cut along the full lines on the exhaust flames.
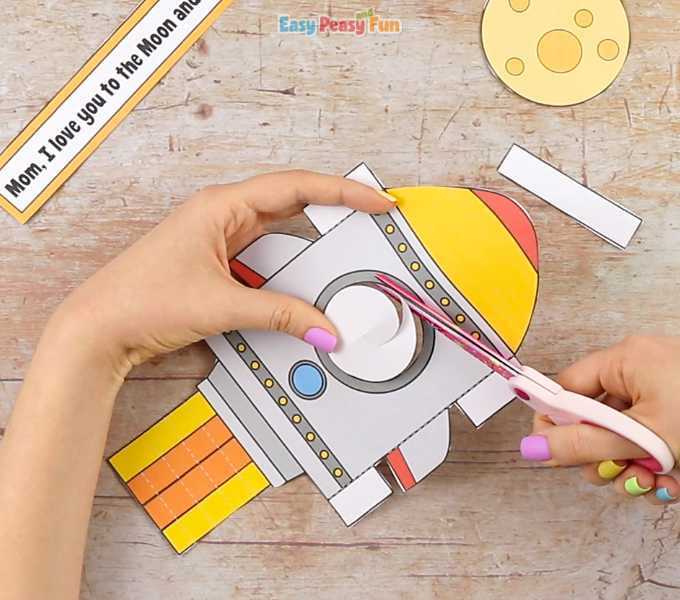
STEP 4:Also cut out the inside of the big circle (window) on the rocket. Gently pinch in the center and make the first cut, then starting from there, work your way around.
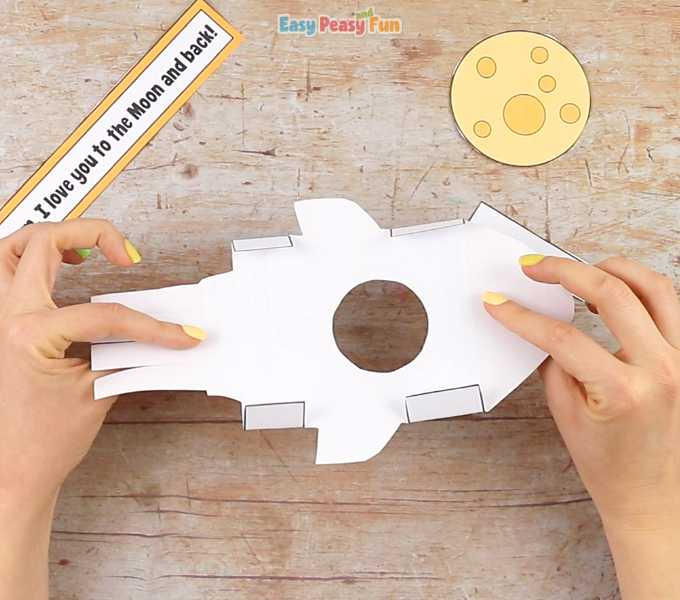
STEP 5:Fold along the dashed lines.
Fold the blank parts towards the inside (as shown on the picture).
STEP 6:And the fins on the outside (as shown).
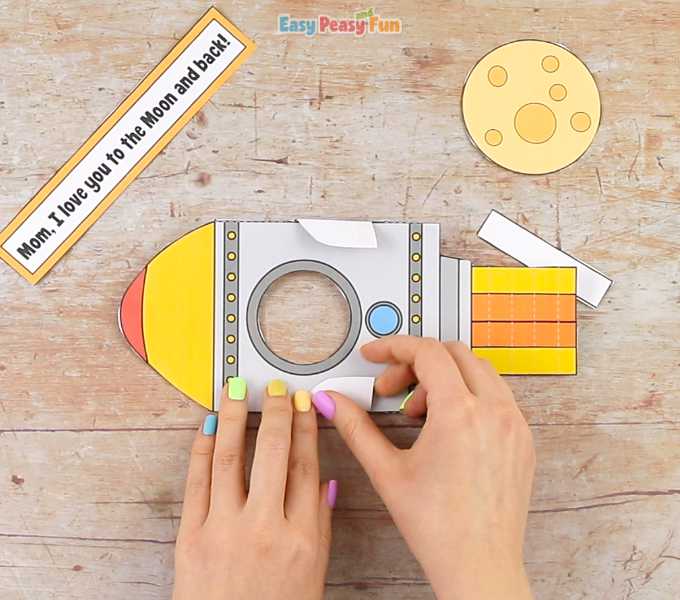
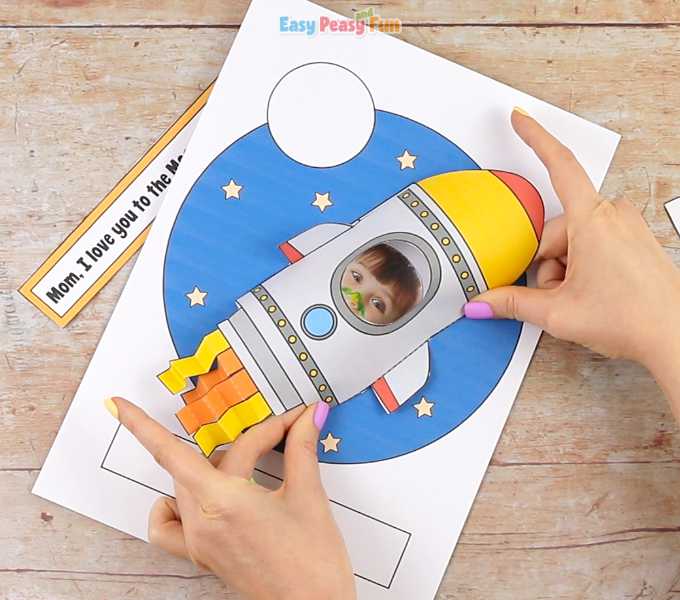
STEP 7;Also fold the exhaust flames (accordion).
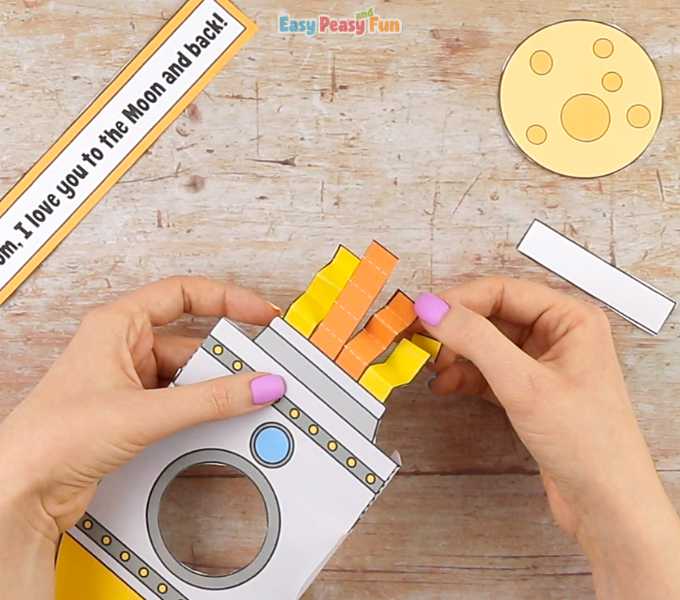
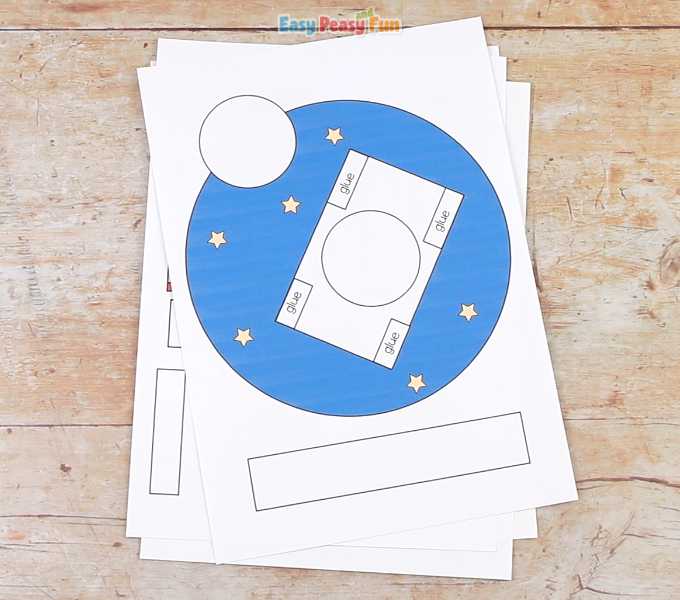
STEP 8:Stick the picture inside the circle on the background.
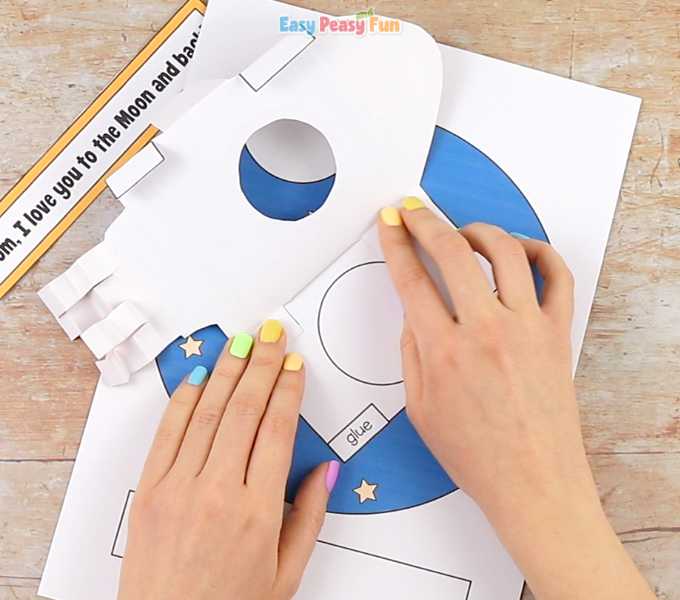
Take the background and apply glue on the areas marked with the word glue.
STEP 9:This step is better done before gluing the rocket ;).
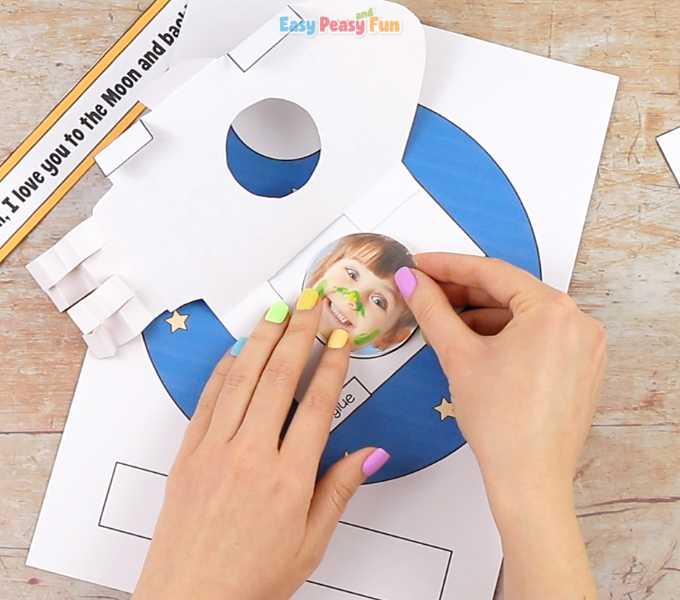
STEP 10:Stick the rocket to the background.
STEP 11:Write a message in the box or glue on ours.
STEP 12:Take the little rectangle and stick the ends together, forming a loop.
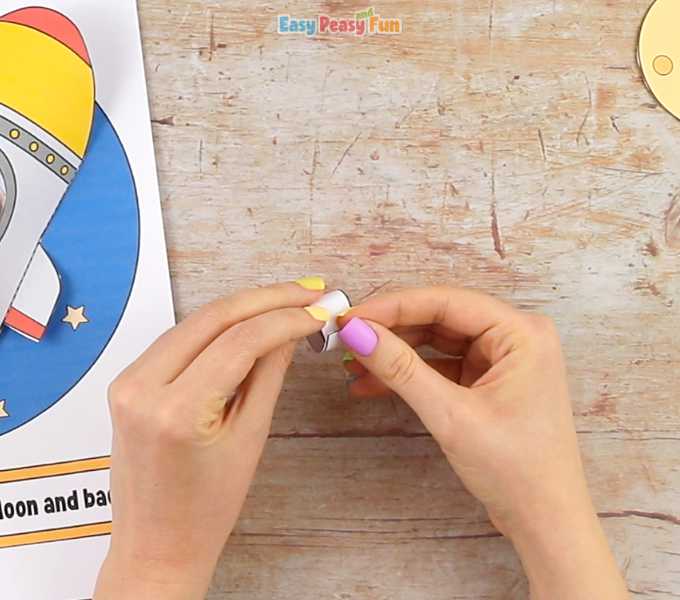
STEP 13:Stick the little paper loop on the small circle on the background.
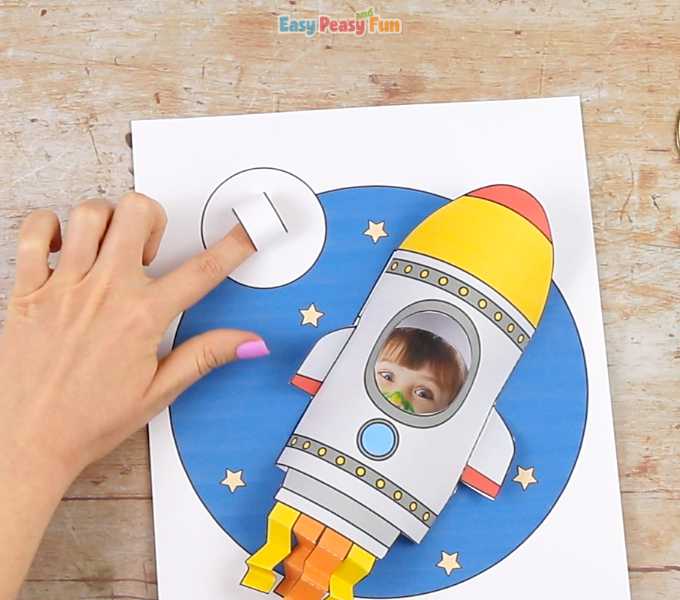
STEP 14:Apply glue on top of the loop and stick the Moon on it.
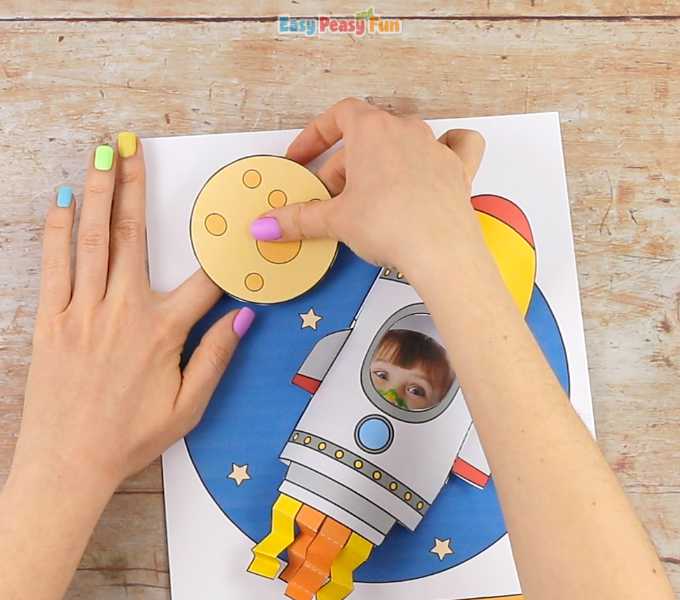
All done!


