When you are making one of these, you can use regular plastic straws or you can use paper straws. Either type of straw will work well fairly well for this. I enjoyed making my own homemade paper straws so I could get them just the right color and length I needed.
If you are using the traditional plastic straws when making this organizer, you can use recycled plastic straws. You will want to wash them well, and then let them dry. If using paper straws, you will want to use new straws.
Making a straw out of paper like shown is really fun, but does take a significant amount of time. For things like this, I really find the time spent making it worth every second for the result.
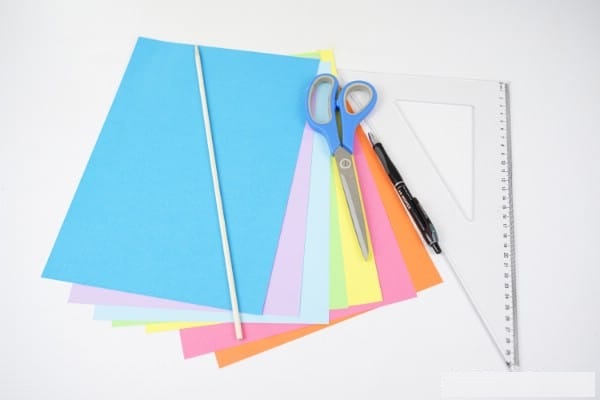
Supplies Needed
Glue sticks or glue rope
Ruler
Pen
Dowel or skewer
Scissors

How to Make a Straw Organizer Can
1,Choose 7 colors of paper. Now, using a ruler, draw a line to divide the paper in half horizontally and vertically.
Tracing lines on paper
Then, you will divide each of these sections in half so you have 6 sections marked off on vertically on each paper.
2,Cut the paper in half along the line.
Cutting strips of paper
Then cut out each strip of paper. You will end up with 12 strips of paper per piece of paper. Repeat this process for all 7 pieces of craft paper.
Now, you will use your chopstick, skewer, or similar stick and start rolling the paper over it to form a straw cylinder.
3,Rolling paper into a straw
Glue the end of the paper onto itself so both ends are open, but the paper is secured together and stays in place.
Repeat this process for all of the individual strips of paper.Gluing paper straw together
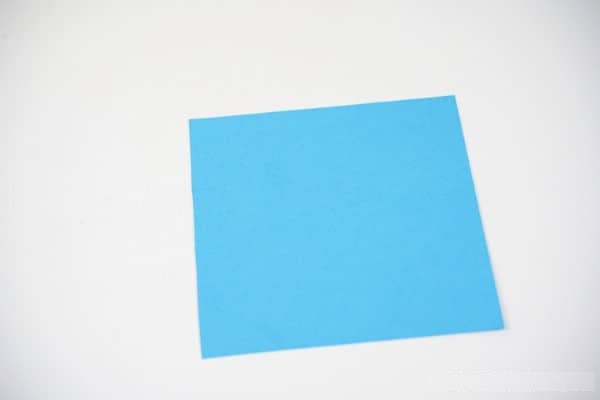
4,Now, cut out a square of paper around 8″x8″.
5,Fold this paper in half.
Unfold that paper, and fold it over in a triangle. Fold the pointed end of that triangle over.
Then fold the bottom side up.
And the other side up. You’ll have a diamond shape at this point.
Finally, fold all corners inward so you end up with a six-sided polygon piece of paper.
Glue the folds together to secure and repeat this process for another piece of paper so you have two of these six-sided pieces.
6,Gluing base of organizer together
Now, you will glue a straw on each point of this paper.
Add a second straw next to one of these.
Now, top this with the second polygon and glue in place.
Your next step will be to fold each of these straws over to the left lining it up against the bottom of the polygon.
7,Twisting paper straw in weaving pattern
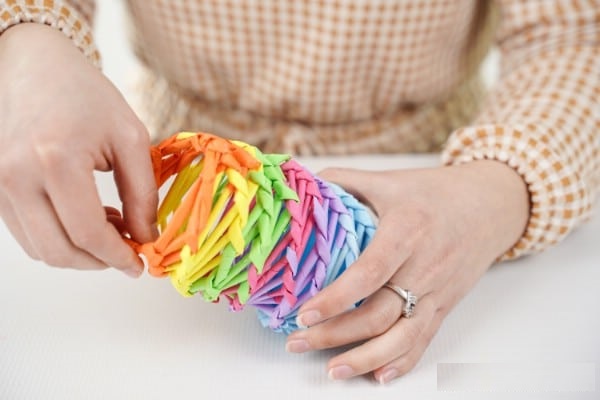
Continue this wrapping over each other method and adding in additional straws connected to each one as you move upward and run out of paper straws.
Once you go through all of one color, move to the next. I used the blue straws first, then purple, pink, green, yellow, and orange. You can create yours with any color pattern you prefer.
8,Gluing straws in place,Once you are done and have used all of the paper straws you made, you will secure the very end with glue.
Let this dry, and fill with your pens, pencils, or makeup brushes!
Finishing top of rainbow pencil can
Rainbow can on white surface
I have made many similar styled organizers with various upcycled or repurposed items that you may want to add to your collection. This decorative tin can organizer is a super cute idea. You might like the milk carton organizer or this old cardboard box organizer. I love creating something out of nothing!


.jpg)
.jpg)
.jpg)

.jpg)
.jpg)
.jpg)
