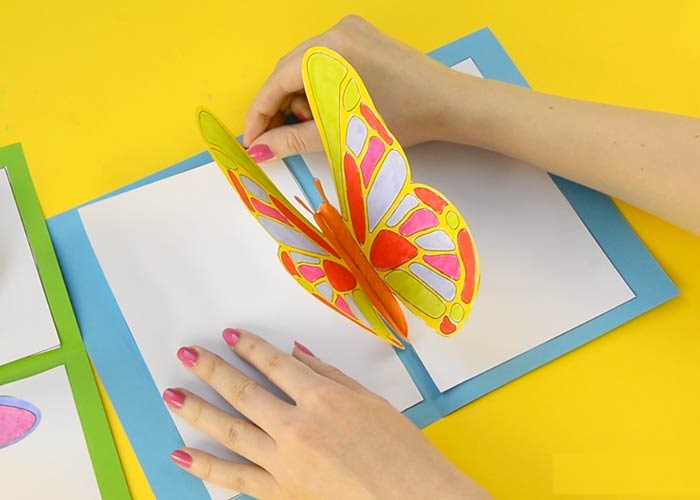
3D Butterfly Pop Up Card
This is a fun spring craft that can also be done in the classroom, it can make the most adorable gift
from your students to their parents or other family members.
You can simply print out one of our templates, one comes with all the markings there already and you can simply color them in. The other one allows for a bit more creativity as it only has the outlines of the wings and kids can draw and decorate them however they see fit.
Whichever template your kids will be using, we just know the end results will be wonderful. And sparkly if you decide to use glitter glue to decorate them.
Materials need:
our printable template (you can find it at the end of this tutorial)
printer
heavier print paper
scissors
glue
markers
Step 1: Print the templates – there are two pages for one butterfly.
Step 2:Color or design your butterfly.
We used regular markers (Tombow) and added some glittery accents to the wings with glitter glue.
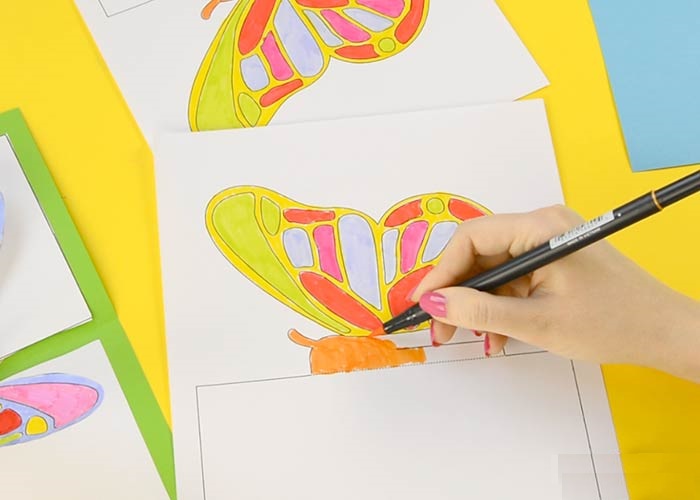
Step 3:Once the butterfly wings are colored (and dry if you used
glitter glue) it’s time to cut, cut, cut.
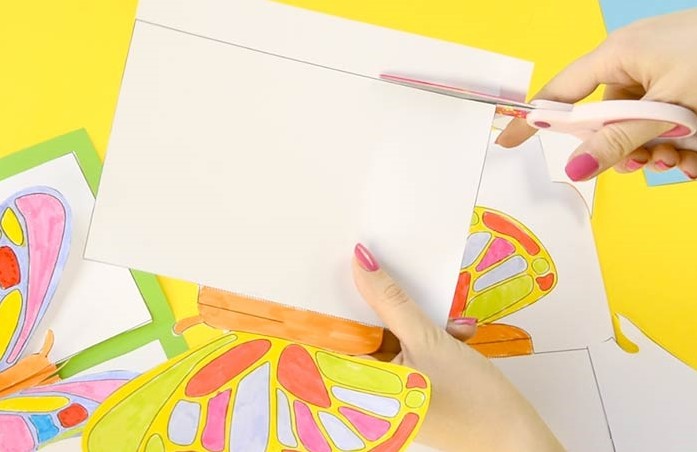
Cut along the outline, all around the square and butterfly wing.
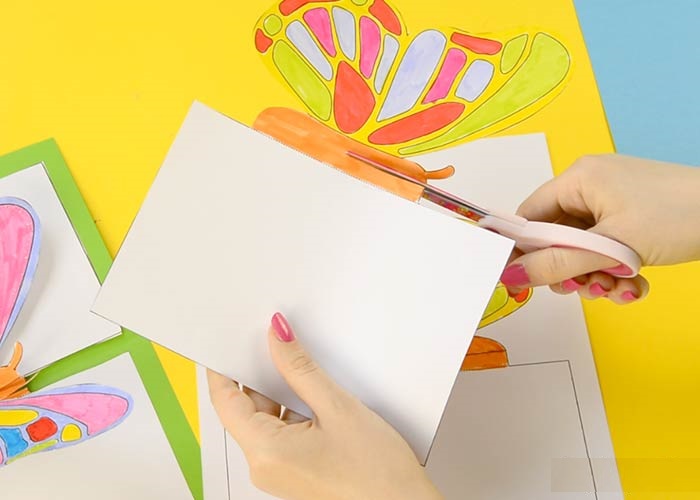
Step 4:You will see a line along the butterfly body, on both templates.
Cut along that line.
Step 5:
Press the butterfly down, the fold goes between the butterfly and the square. Crease.
Repeat with the other wing.
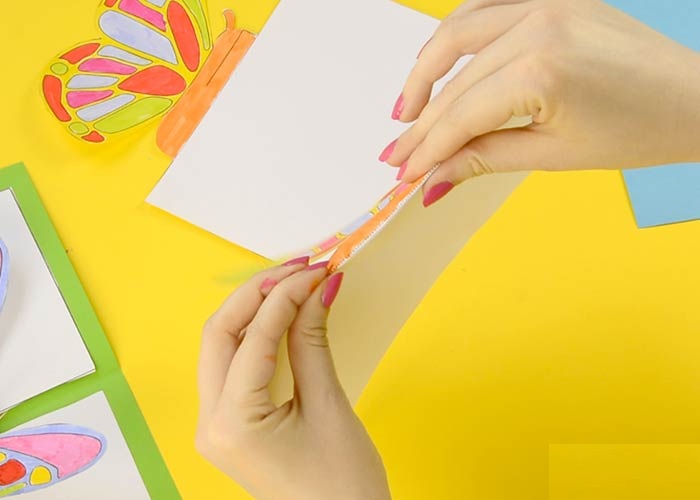
Step 6: Assemble the butterfly by pushing one butterfly wing through the other (through the part you have cut along the lines).
The halves should fit nicely, forming a butterfly – if it’s a bit off, you can cut along the dash line some more (if needed).
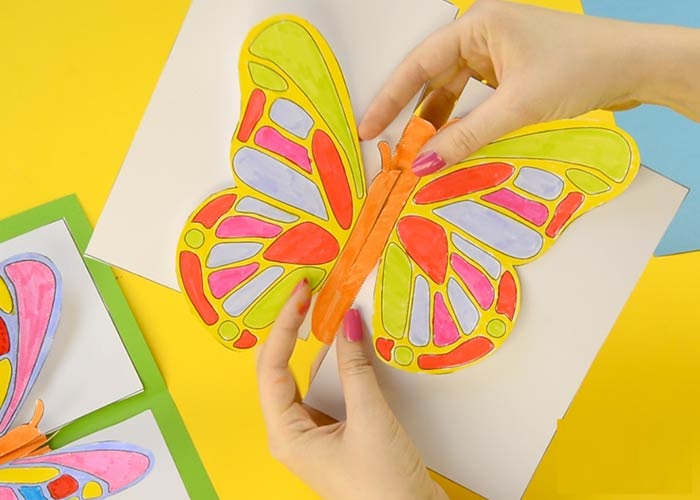
Step 7: Fold a sheet of letter sized construction paper in half. Crease. Unfold.
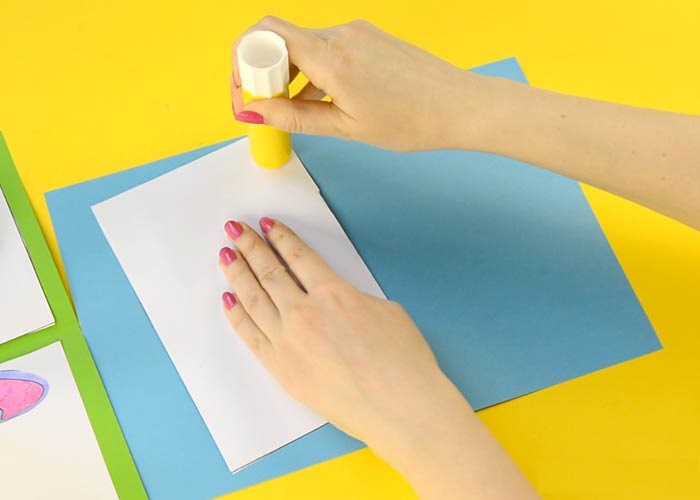
“Close” the butterfly card – butterfly on the inside and apply glue on one side of the card.
Glue onto one half of the construction paper, just 1/8 (around) of an inch from the centre.
Step 8:Glue the other side of the butterfly card on the other half of the construction paper.
You should now see a lovely little flapping butterfly pop up card. All Done!
